Last updated on August 20, 2023
There will be no foolish wand-waving or silly incantations in this class. As such, I don’t expect many of you to appreciate the subtle science of potion making. However, for those of you who possess the pre-disposition, I can teach you how to bewitch the mind and ensnare the senses; I can tell you how to brew glory, bottle fame, and even put a stopper in death.
– Severus Snape
Welcome to Advanced Potions. Today we are going to learn how to make healing potions for your Dungeons & Dragons game. This will not be gimmicky health potions half filled with dried resin and a couple of d4’s tossed in for good measure. No … instead of fancy Yahtzee shakers, we will be making health potions with “a red liquid that glimmers when agitated”. You will need the following ingredients
Let’s Begin
On your desk, you will find the following ingredients:
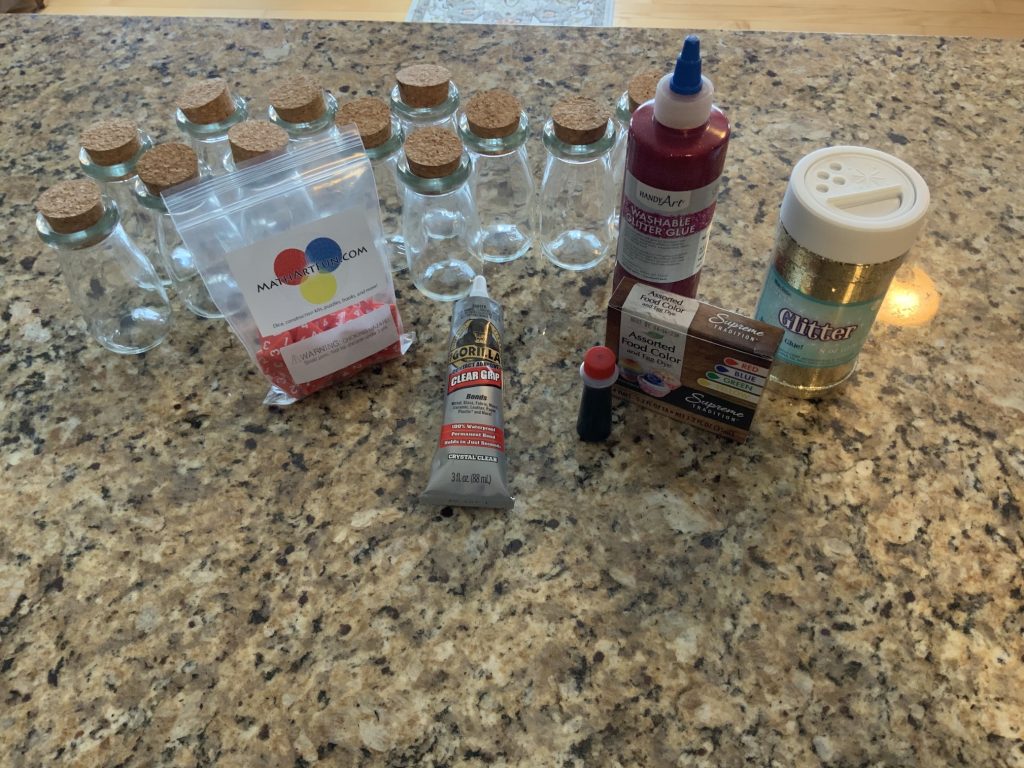
- 6 cups of HOT Distilled or Reverse Osmosis Water. (Do not use tap or bottled water.)
- 12 Small Glass Bottles with Cork (3.4 oz) (See my note on bottles below.)
- 1/3 cup of Red, Washable Glitter Glue
- 4-6 drops of Red Food Coloring (Liquid, not Gel)
- 1/8 tsp of Gold Glitter
- Gorilla Clear Grip Contact Adhesive, Waterproof
- Twine (included with bottles)
- Labels (included with bottles)
Selecting the Right Bottle
Before you begin, you need to choose the right potion bottle. Two things to keep in mind when selecting a bottle are:
- Choose a bottle with an opening large enough to fit a standard d4 (about 0.79″)
- Choose a bottle with an internal base large enough for 2 – 4 d4s sitting flat. (about 1.5″)
All of the proportions above are for twelve 3.4 ounce (or 100 ml) bottles. You will need to make adjustments to account for bottles that are larger or smaller.
Last but not least, pay close attention to the “cap” of your bottle. In this tutorial, I went for a more authentic look, but I do have some reservations about its security over time.
Just Add Water
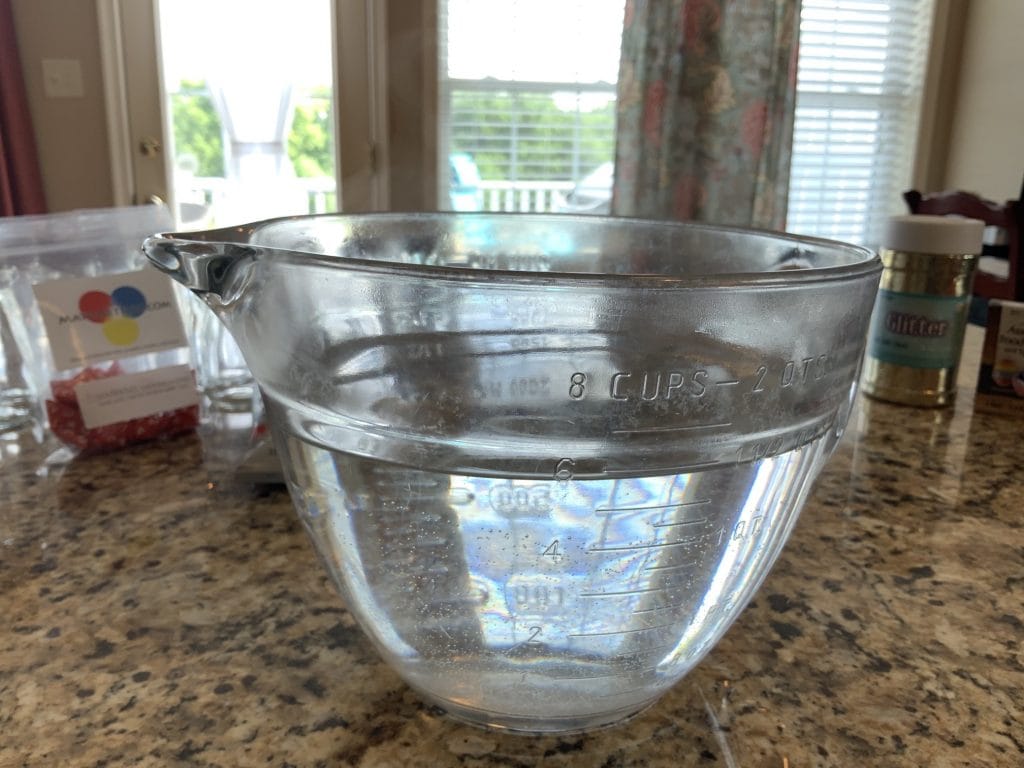
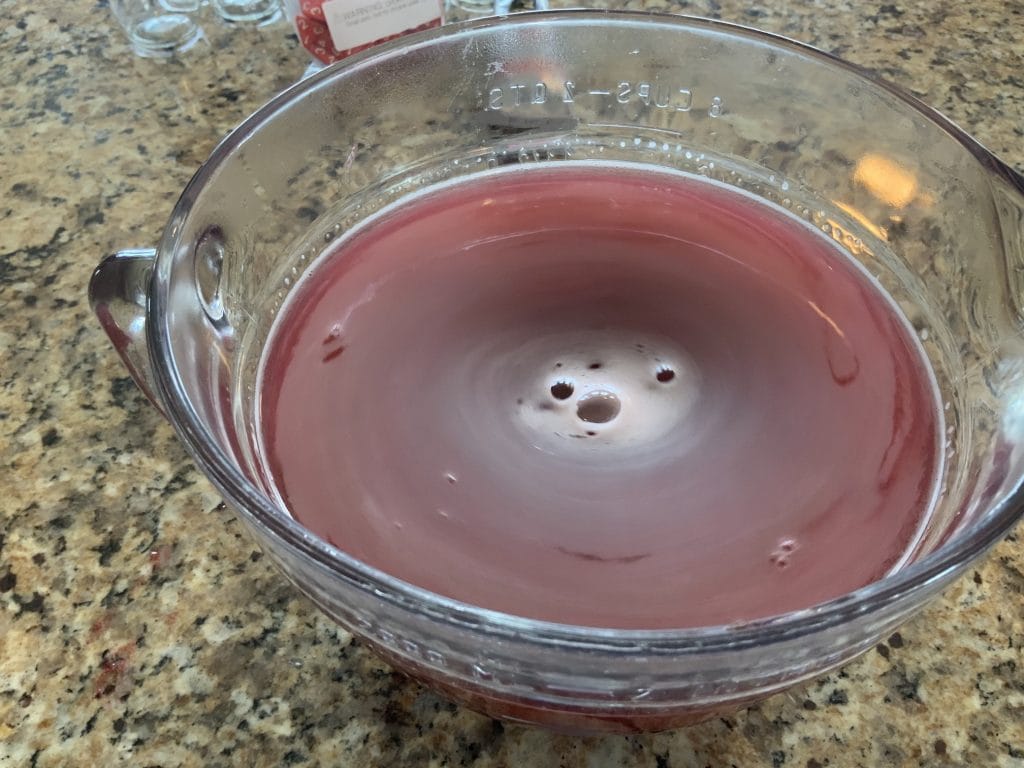
As water is a key component of life itself, so it is with these potions. You will need 6 cups of Distilled or Reverse Osmosis water. You cannot use tap or bottled water. I recommend putting it in a large glass container, like this one and then microwaving it for 5 minutes. The water must be hot for the glitter glue to mix properly.
Be Careful, your container may be VERY HOT when you remove it from the microwave!
Magic = Glitter Glue
Besides adding glitter to the water, the glitter glue thickens it as well. This allows the glitter and dice to float and slowly sink to the bottom like a snow globe. Don’t add too much to try and darken the color. It will cause the potion to settle much more slowly and make it harder to read the dice when you’re done.

Mix Well
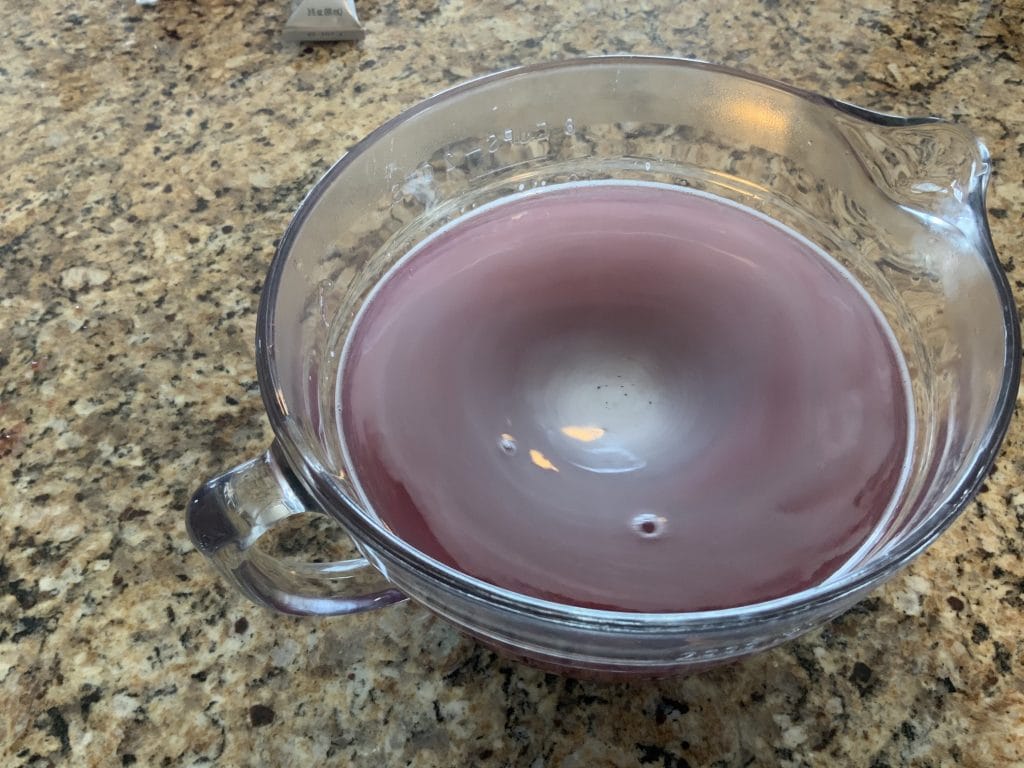
Use a metal whisk to mix the glitter glue with the water and do not worry about the milky color on top or bubbles. It will subside and not be noticeable in the finished product.

Add a Little Red #40
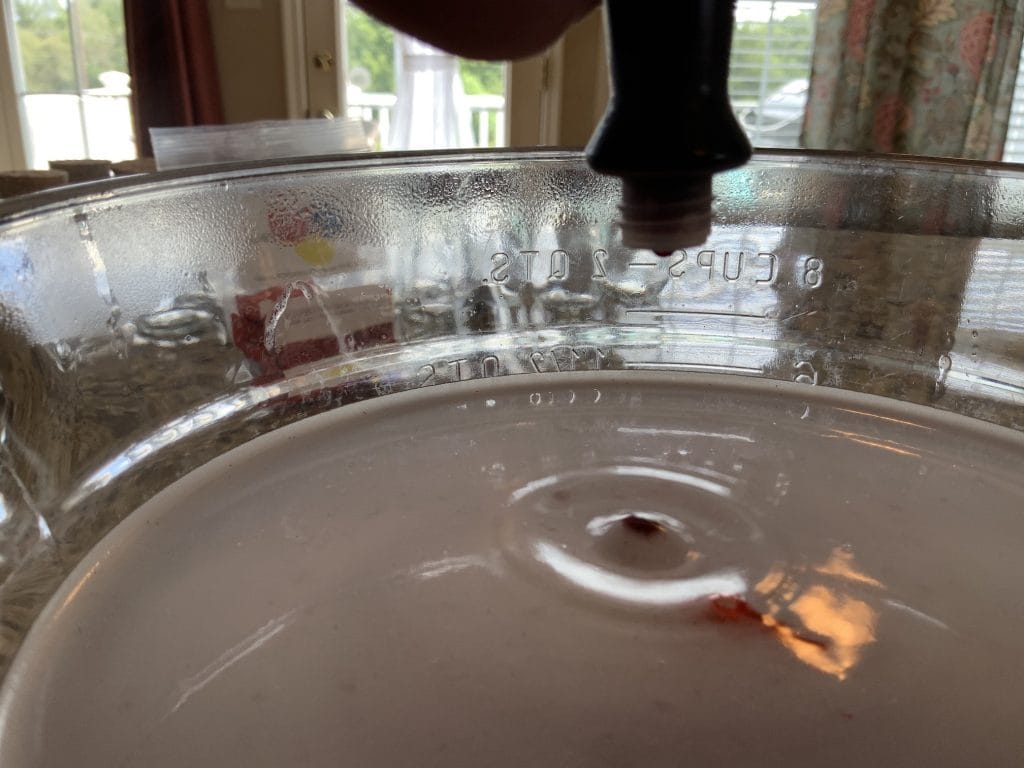
While the glitter glue starts the process of creating a ‘red liquid that shimmers when agitated’, the overall color isn’t very convincing. In my batch, I added 4 drops of red food coloring, mixed, and then added another two. (6 total)
Note: How light or dark you want your potions is up to you. I recommend doing some testing at this step in the process. Toss in some dice, shake it up, and make sure you can read the dice. Dump it back, add another drop, and repeat. The darker the potion, the longer you have to wait for it to settle. Mine can be tough for my old eyes, but my players have no trouble.
All That Glitters IS Gold
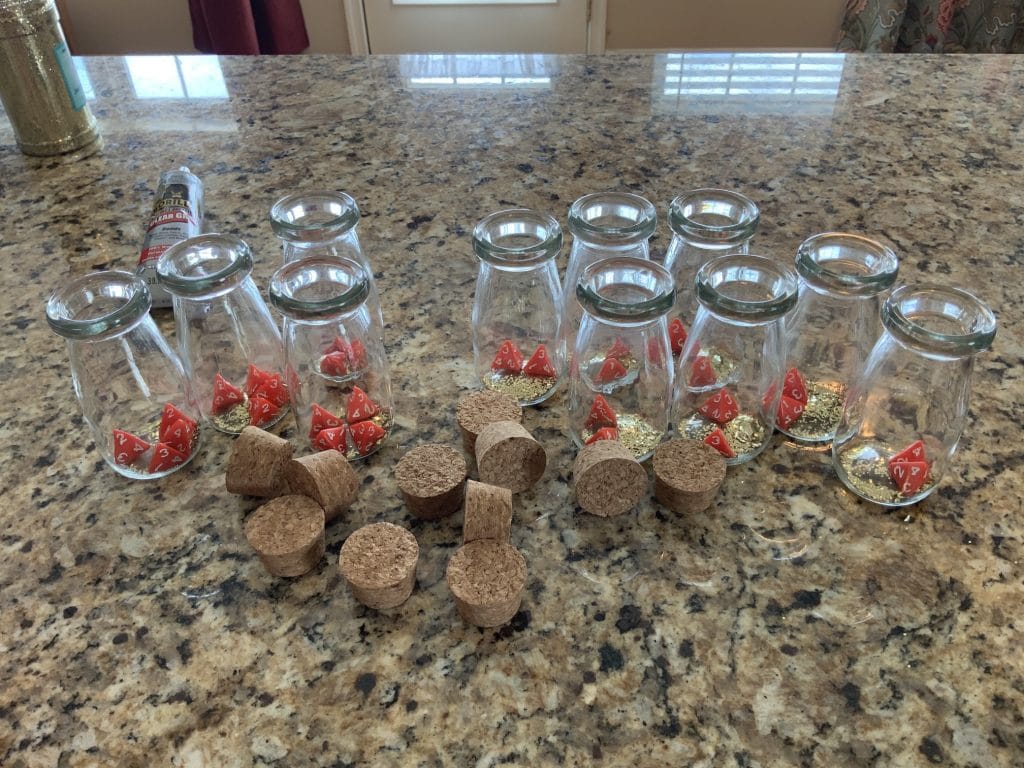
Glitter glue is great and all, but I wouldn’t say it “glimmers when agitated”. To get that little extra sparkle, add 1/8 teaspoon of gold glitter to each bottle. You can use any kind of glitter. The finer the particles the more subtle the effect will be.
Tip: Add the glitter before you pour.

Bottling the Brew
With the potion mixed in the cauldron, it is time to bottle the brew. This is a fairly straight-forward process, but there are a couple of things to be aware of:
- Stir up the mixture (gently) before pouring each bottle. The glitter settles fairly quickly and you want to make sure you’re getting an even mixture.
- Use a funnel and pour slowly. These small bottles fill up fast. You want to leave some room at the top for the cork.
- I recommend pouring over a cookie sheet. Not only does it help with cleanup, you can actually pour and spills back into the mix.

Put a Cork In It
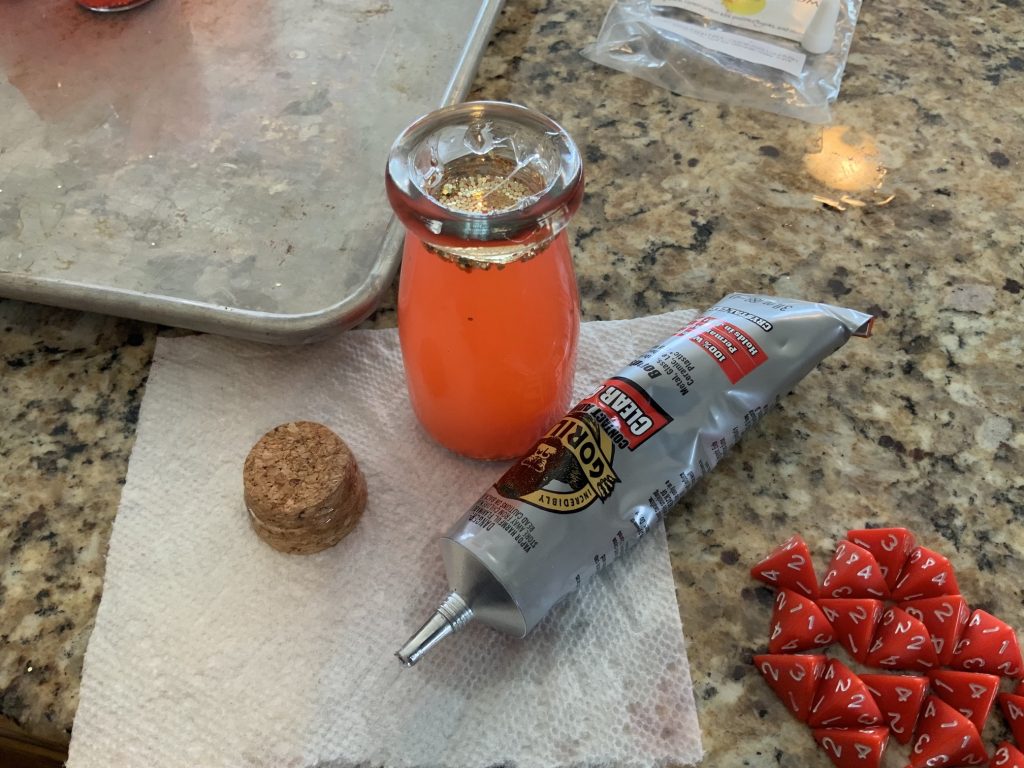
Depending on the bottle you choose, you may be able to skip this step, but then I’d probably still glue a twist on cap. For this step, I’m using clear Gorilla Glue contact cement. You could try other adhesives, but I wasn’t taking any chances.
Contents Under Pressure
The magic in these potions is so potent, I had to put a big box of flour and a pot of water on top to keep the corks from popping up. The pot full of water may be overkill, but not all corks are created equal. I wanted them all pushed in as far as they’d go and held there.
Note: You can use any flour you like for this step, but if you’re looking for good, all-purpose gluten free flour, try Bob’s Red Mill. 🙂

Finishing Touches
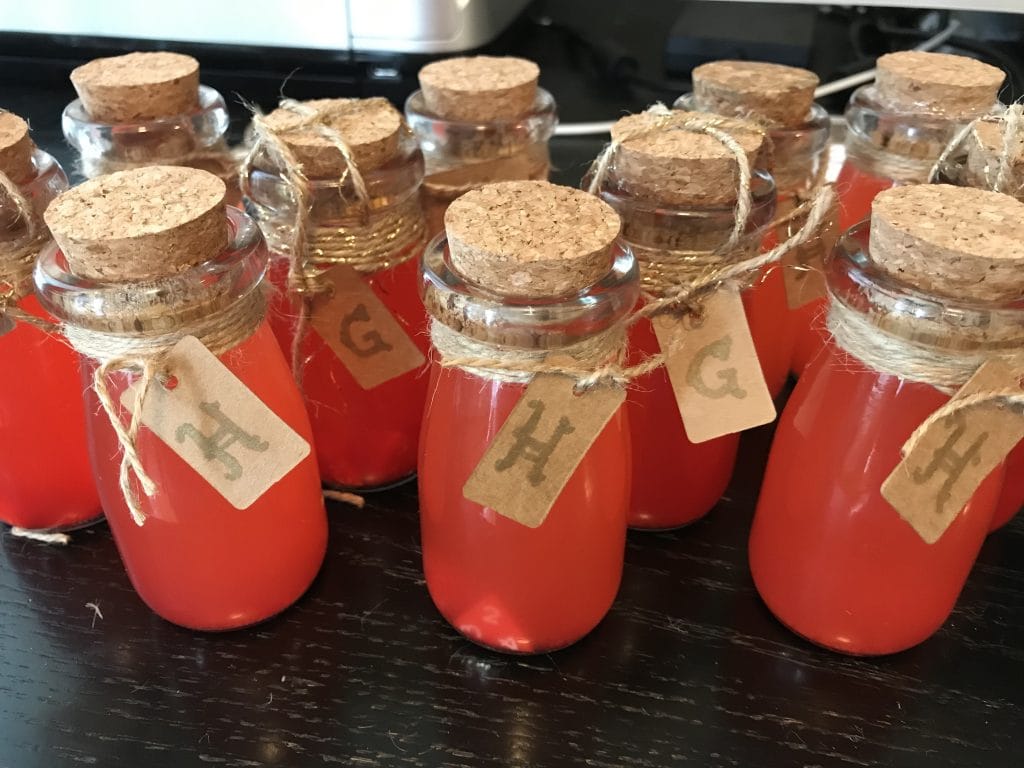
I experimented with a lot of different ways to finish them off. I tried sealing wax, but I did not care for how it looked on these bottles. It also became clear it wasn’t going to hold up to being handled on a regular basis. In the end, I settled for using the twine that came with the bottles. I simply tied an overhand knot around the neck, wrapped around 4-6 times, tied another overhand knot and added the tag.
Tip: Make sure you make your tags before add them to the bottle and tie them off.

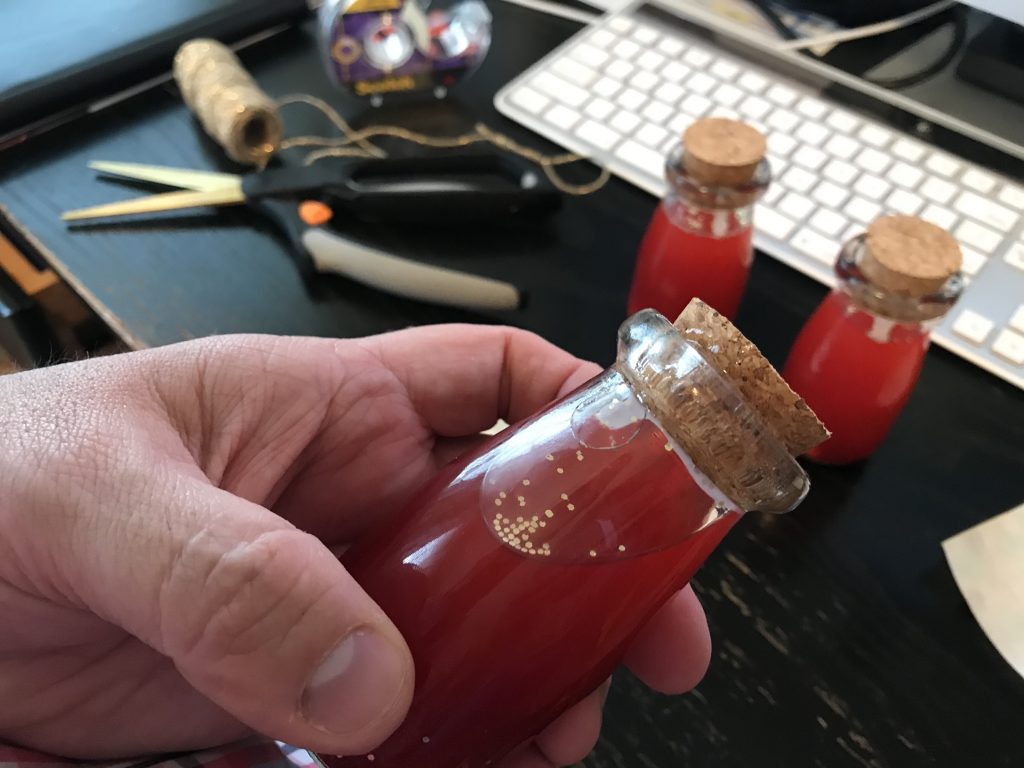
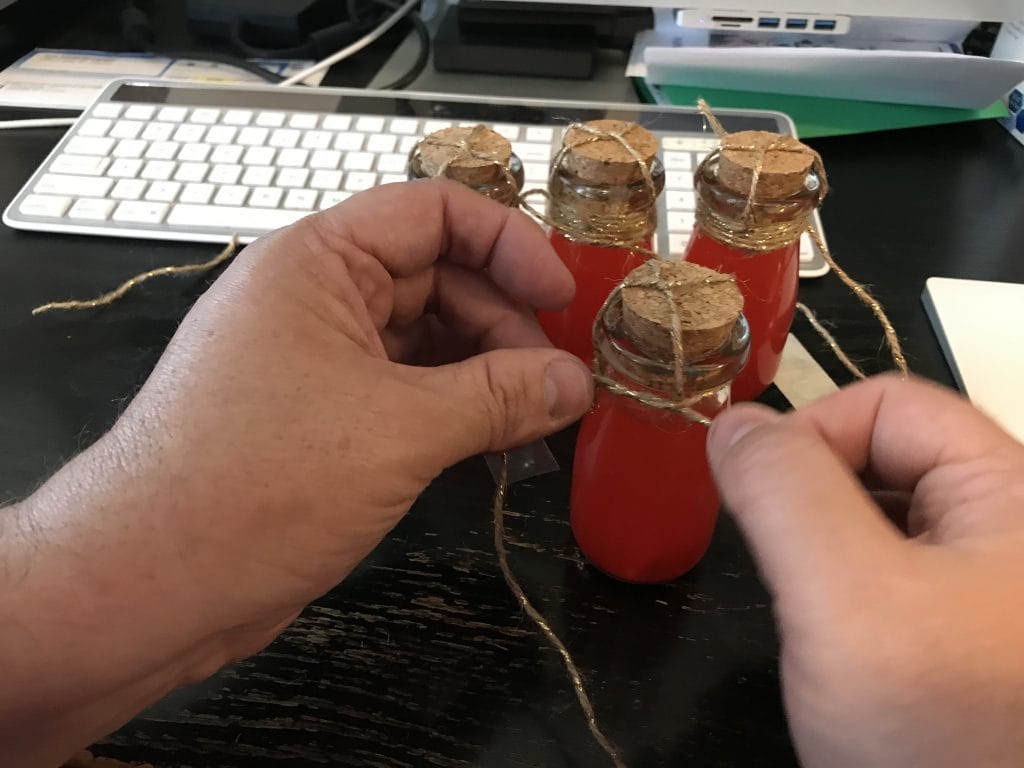
For the greater healing potions, I wanted them to look a little nicer. If only to be able to tell them apart at first glance. For those I used a twine with gold foil intertwined. I also wanted the twine to criss-cross over the cork. After about 30 minutes and a couple of YouTube videos of trying to follow the “old ways”, I gave in to the convenience of modern sorcery and used glue dots.
I cut two short pieces of twine and used the glue dots to hold them in place while I used my standard wrap technique to hide the ends and glue dots from view.
Magical dots of adhesion
Add Labels
For the labels, you can use just about anything you can think of. I recommend using a rubber stamp or getting an artistic friend (if that is not you) to make your labels. I’d also put the roll formula on the back of the tag (ie. 2d4+2).
Potion Storage
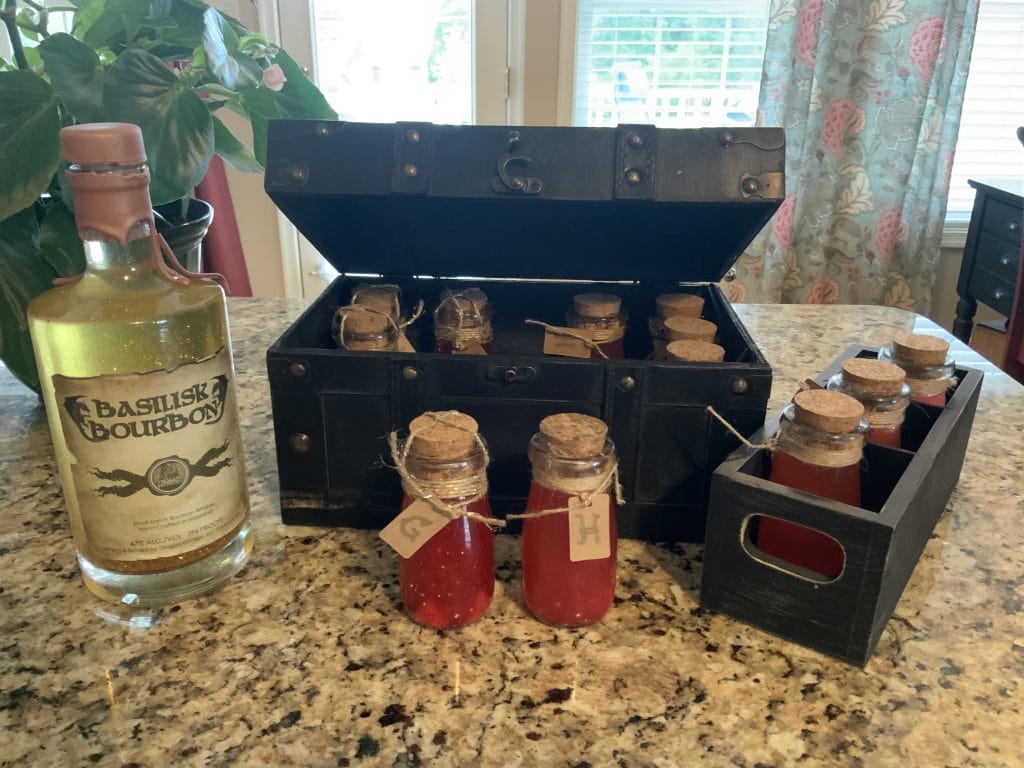
Healing potions should be kept in a cool, dark place to prevent them from losing their efficacy over time. They should also be protected from breaking and spilling their life-preserving essence from inflicting 4d4+4 staining damage to your couch or carpet. For these, I found a kick ass chest at Hobby Lobby that will hold 15 potions. (Now I need to make 3 more, or something else to put in there. I also found the little 3 bottle holders for the players. I can’t wait to unveil them in our next session.
About the Bourbon
I recently discovered this bourbon at my local liquor store and picked it up. It is Basilisk Bourbon from Dragon Distillery in Frederick, Maryland. It was pretty good, and while I don’t think it will knock off my favorites, I’ll probably try some of their other spirits. The founders are big D&D nerds and it shows in the names of their other offerings. Once things have settled down, I’ll definitely be making a trip down to take the tour and maybe try one of their workshops.
As for its place in the picture, it was originally going to be a potion of superior or supreme healing. I decided to go with gold to fit the colors of the label and wax. Only when I made the mixture and poured it in, I realized it was way too thick and didn’t settle fast enough. That being said, it was incredibly cool as-is. I added some copper glitter and the thing takes hours to completely settle. I was planning on keeping the bottle anyway, but now I’ve found a much cooler way to keep an interesting whisky bottle.
